audioMotion.js
Settings Panel
Click Settings in the panel selection buttons to open the Settings Panel.

Settings are listed below in alphabetical order.
Analyzer Mode
Selects the visualization mode. Keyboard shortcut: M / Shift + M.
| Analyzer Mode | Description |
|---|---|
| Bars | Displays bars of equal width, representing frequency bands, as selected by Band Count. |
| FFT | Displays individual discrete frequencies, as provided by the FFT computation. |
| Graph | Uses the FFT data points to create an area or line graph - Line Width and Fill Opacity can be customized in the Advanced panel. |
Background
Selects the analyzer background.
| Background | Description |
|---|---|
| Gradient default | Uses the background color defined by the currently selected gradient - when the LEDs effect is on, this shows the “unlit” LEDs instead |
| Black | Uses a black background |
| Album cover | Displays the album cover for the current song (1) |
| Random image | Selects a random image from the backgrounds folder (2) |
| Random video | Selects a random video from the backgrounds folder (2) |
( 1 ) Album covers will be preferably retrieved from the file’s metadata. When a picture is not found in the metadata, audioMotion will look for image files in the song’s folder, and will pick any image which filename contains the words cover, folder or front (in this order), or the first image found otherwise.
( 2 ) The web app includes a few built-in background images and videos. You can select your own backgrounds folder in Configuration > General settings. You can also customize how many files will be directly available in the selection box, but for large amounts of files use the Random image and Random video options to randomly choose among all files found in the backgrounds folder.
See also Background Image Fit and Background Dim settings for additional options for background images and videos.
You can cycle through the available options using the B keyboard shortcut.
?> When a video file is loaded on the player the Background setting has no effect, but you can still adjust the Background Dim.
Background Dim
Adjusts the brightness of images and videos shown in the background of the spectrum analyzer.
By default, Background Dim is disabled when playing a video track or displaying subtitles. Configure it in Configuration > Subtitles & Video.
Background Image Fit
Selects the size and positioning of the background image. Keyboard shortcut: Shift + B.
Effective only when Background is set to an image or Album cover.
| Background Image Fit | Effect |
|---|---|
| Adjust | Resizes the image so it fills the entire canvas |
| Center | Displays the image horizontally centered on the canvas (default) |
| Pulse | Makes the image pulsate to the beat of the song |
| Repeat | Repeats the image horizontally to fill the canvas |
| Warp | Applies a 3D “warp” effect to the background image |
| Warp Drive | Animated Warp effect |
| Wormhole | Warp Drive effect with additional rotation |
| Zoom In | Image is initially centered on the canvas and slowly zooms in as the song plays |
| Zoom Out | Image is initially enlarged at 200% and slowly zooms out as the song plays |
Effects can be selectively disabled in Configuration > Background Image Fit.
!> The Warp Drive and Wormhole effects may degrade performance on some graphics cards.
Band Count
How many frequency bands should be displayed in Bars mode, or how much of an octave should each band represent.
When Frequency Scale is set to Log, this setting defines which fraction of an octave is included in each bar. Otherwise, the frequency spectrum is divided into a fixed amount of bars, with the bandwidth of each bar varying according to the selected frequency scale.
Bar Color Mode
Desired method for coloring the analyzer bars. This setting has no effect in Graph mode.
| Color Mode | Description | Preview (‘prism’ gradient) |
|---|---|---|
| Gradient | Analyzer bars are painted with the currently selected Gradient. | 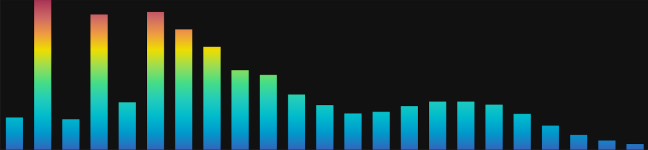 |
| Index | Each analyzer bar is painted with a single color from the selected gradient, starting with the first color applied to the first bar, and so on, cycling through the available colors. | 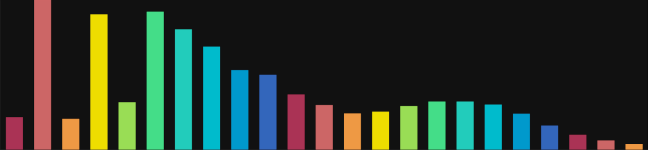 |
| Level | Colors from the selected gradient are used to paint each bar, according to its current level (amplitude). | 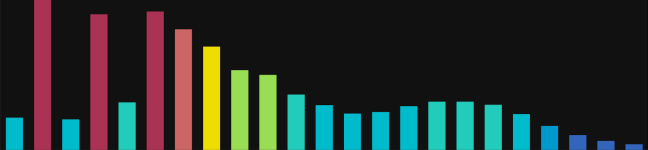 |
Display switches
TRACK INFO
Toggle display of on-screen information on track start and end, as configured in Configuration > On-screen information display.
SUBTITLES
Toggle display of subtitles.
FLAT
Switch between outlined (on) or shadowed (off) text for messages displayed on screen.
LO-RES
Toggle low resolution mode (may improve performance, especially on 4K+ displays).
FPS
Toggle display of current frame rate at the top right corner.
Effects switches
ALPHA
Toggle dynamic bar transparency - when active, bars become more opaque as their amplitude increases.
LUMI
Toggle luminance bars - similar to ALPHA, bars’ opacity vary according to their level, but all bars are displayed at full height (no effect with RADIAL).
LEDS
Toggle LED effect for the analyzer bars (Bars mode only, no effect with RADIAL).
OUTLINE
Toggle bar outline - see Line Width and Fill Opacity settings (Bars mode only).
RADIAL
Toggle display of circular spectrum analyzer with radial bars. This option disables both LEDS and LUMI effects.
ROUND
Toggle rounded corners at the top of analyzer bars (Bars mode only).
Gradients
Select color gradients for left and right analyzer channels. Keyboard shortcut: G / Shift + G.
| Button / switch | Description |
|---|---|
| LINK | When active and using a dual Channel Layout, uses the same gradient for both channels. |
| SPLIT | When active, splits gradient colors between both channels (Vertical channel layout only). |
| Manage Gradients | Click to create, edit, import and export gradients - see Configuration > Gradient management. |
Peaks
Toggle display of level peaks.
| Peaks | Description |
|---|---|
| Off | Do not show level peaks |
| Drop | Peaks fall down after a short time |
| Fade | Peaks fade out after a short time |
Drop and Fade behavior can be customized in Configuration > Peaks behavior.
Presets
audioMotion comes with 6 built-in presets and provides 9 slots for user-defined presets.
The Demo preset picks random settings and sets Randomize to 15 seconds, so it’s a great way to quickly overview all of audioMotion’s features!
Description of buttons functions:
| Button | Action |
|---|---|
| Load | Load the selected preset |
| Session start | Restore settings as they were when you last launched (or reloaded) the app |
| Defaults | Resets all settings to their initial values, as in the first time you run audioMotion |
| Save / Manage | Save, update, rename, delete and download user presets - see Save / Manage presets |
Keyboard shortcuts available:
| Key | Action |
|---|---|
| 0 (zero) | Choose random values for all settings enabled in Configuration > Randomize |
| 1 - 9 | Load the user preset of corresponding slot number |
| Shift + 1 - 9 | Save the current settings to the corresponding user preset slot number |
Your last used settings will be automatically restored the next time you open audioMotion.
?> NOTE: presets store all settings from both the Settings and Advanced panels!
Save / Manage presets
Click the  button to open the list of user presets, as seen below.
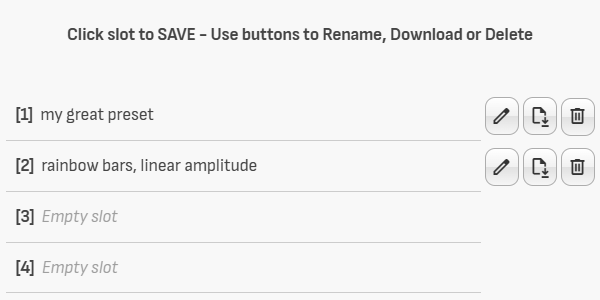
Click any empty slot to save the current settings to a new user preset, or click one of the saved presets to update it with the current settings.
| Button | Action |
|---|---|
 |
Rename the corresponding preset |
 |
Download the corresponding preset |
 |
Delete the corresponding preset |
!> Download your presets and keep backup copies of them!
User presets are saved to the browser’s internal storage and may be lost if you uninstall the browser or clear its data.
External presets can be imported via Advanced Panel > Import Settings.
Randomize
Selects random visualization settings on track change or time interval.
You can choose which settings may be changed by Randomize in Configuration > Randomize.
Reflex
Selects a vertical reflection effect. On Bars Analyzer Mode, this setting has no effect when the LUMI effect is active.
| Reflex: 40% | Reflex: Mirror |
|---|---|
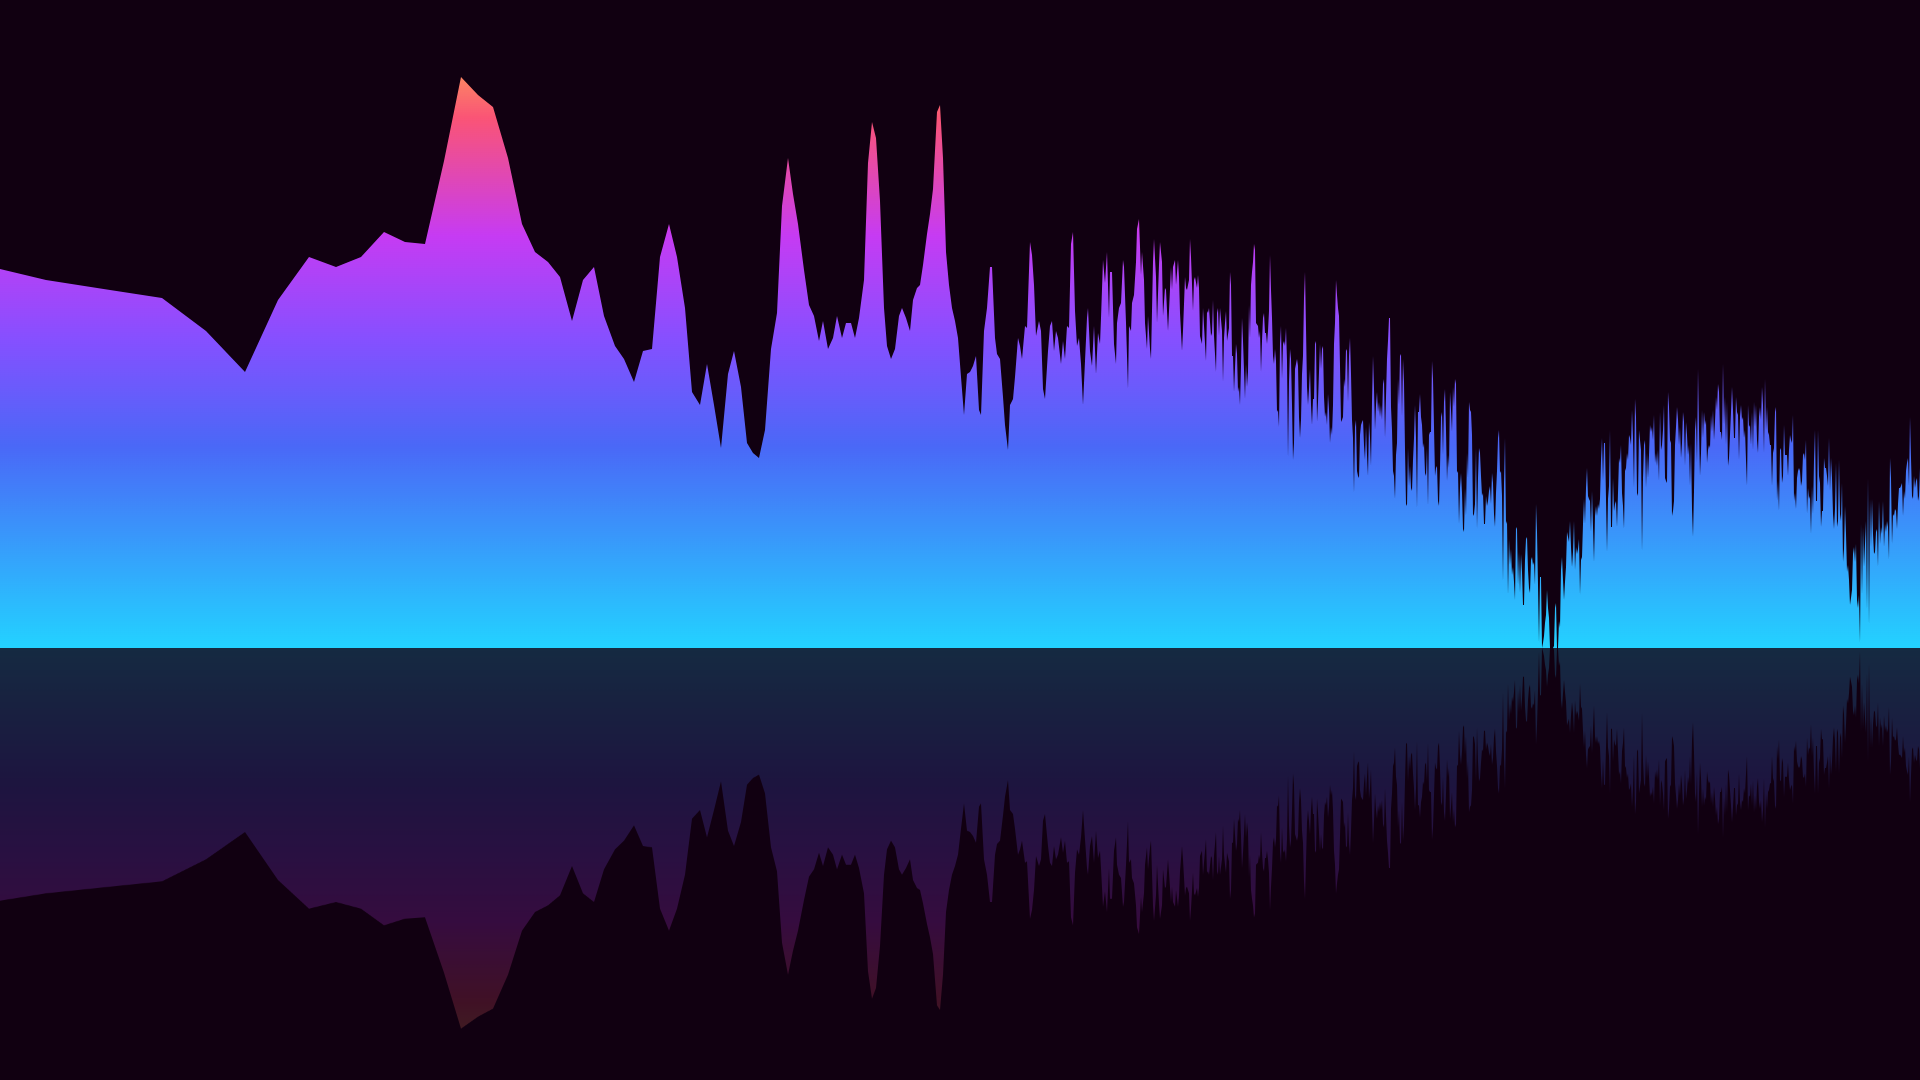 |
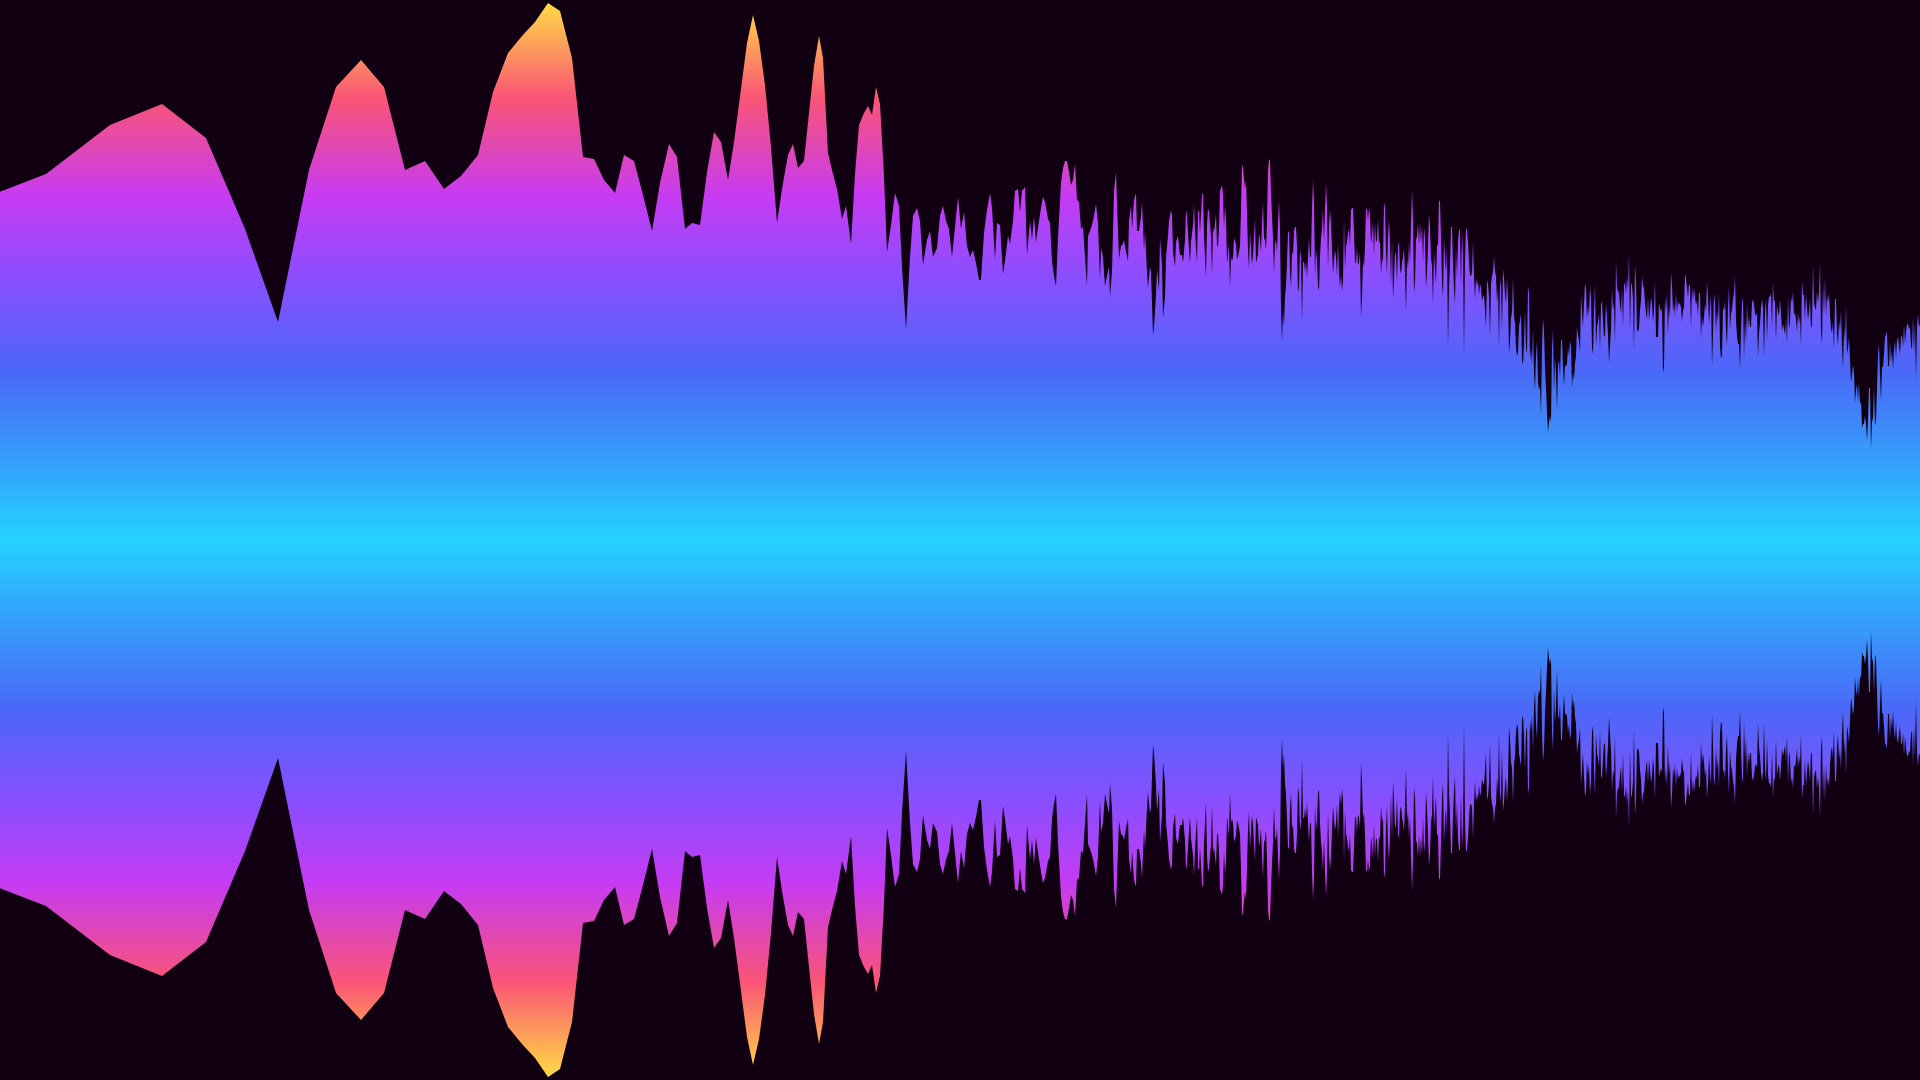 |
Sensitivity
Adjusts the analyzer sensitivity to improve the visualization of songs too quiet or too loud. Keyboard shortcut: N / Shift + N.
Presets for low, medium and high sensitivity can be customized in Configuration > Sensitivity presets.
X-Axis Labels
Toggle display of scale labels on the horizontal axis (frequency). Keyboard shortcut: S / Shift + S.
| X-Axis Labels | Description |
|---|---|
| Off | Do not show labels |
| Freqs | Show the center frequencies of each octave (in Hz) |
| Notes | Show musical notation labels |
?> For perfect alignment of analyzer bars with Notes labels, use Frequency Scale: Log, Octave Bands: Tempered and Band Count: 1/12th octave.
Y-Axis Labels
Toggle display of scale labels on the vertical axis (level/volume). Keyboard shortcut: S / Shift + S.